Deploying Actual on fly.io with git
Installing Git On Your Local Machine
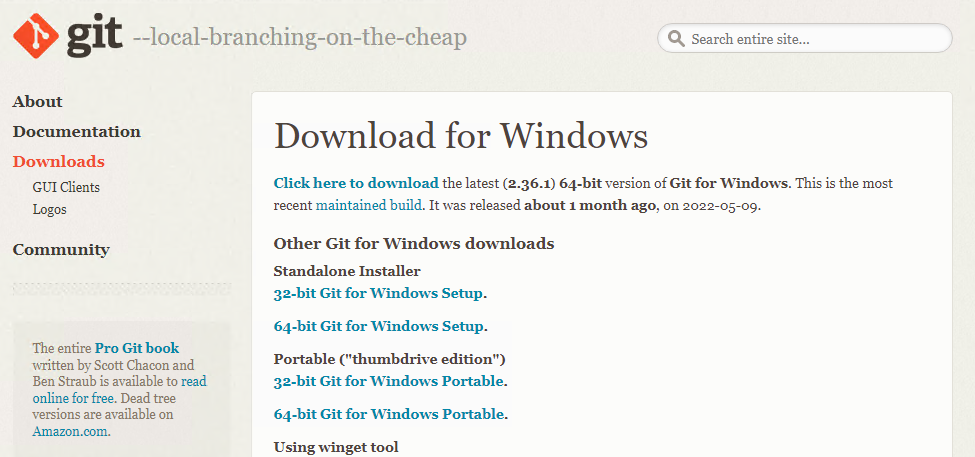
Download git for Windows from here: https://git-scm.com/download/win
Identify the version that is suitable for your operating system
If you are unsure if you are running 32bit run this command in the command prompt:
wmic os get OSArchitecture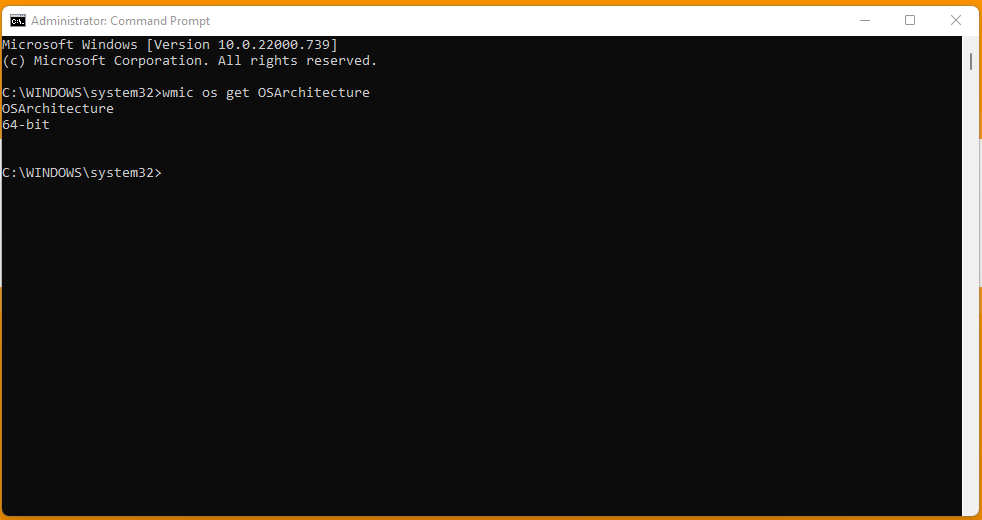
Download the setup file that is right for your system:
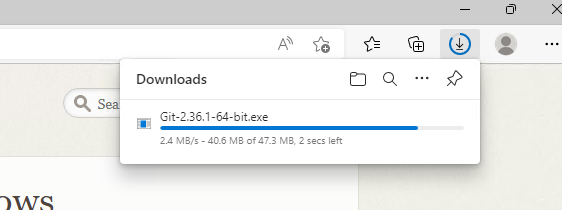
It should then start downloading:
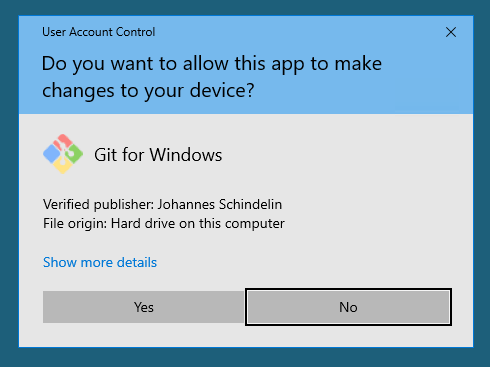
Once it is done, open it up - if asked click yes that you are happy for it to make changes to your device.
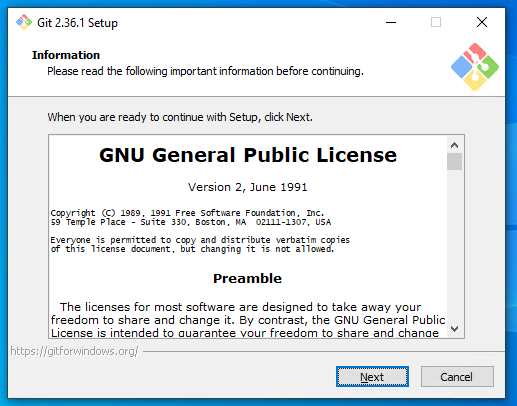
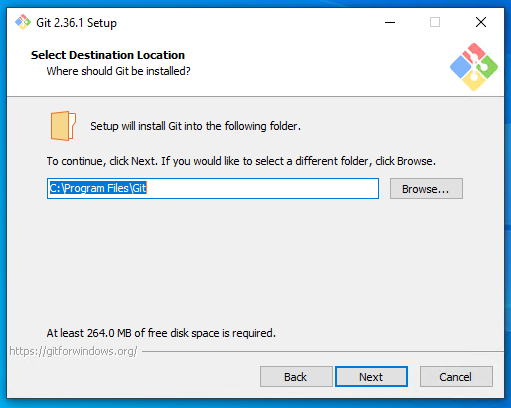
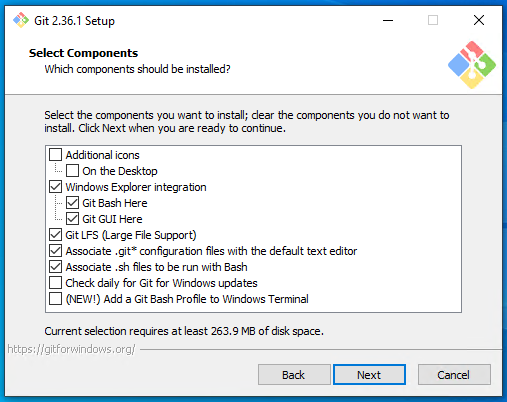
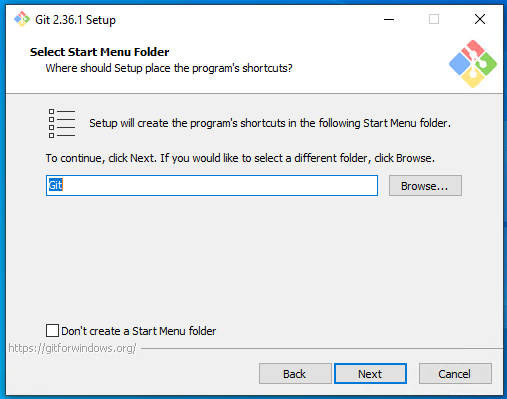
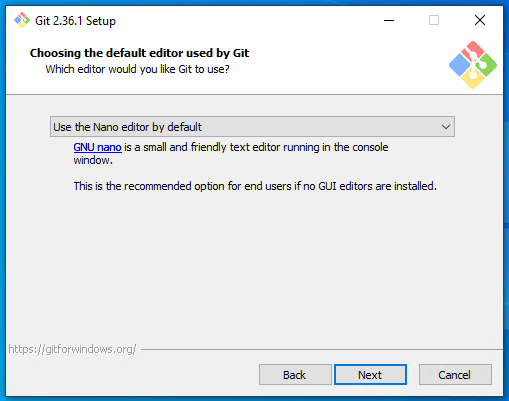
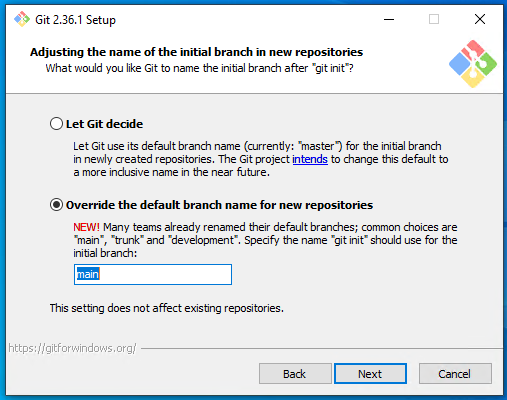
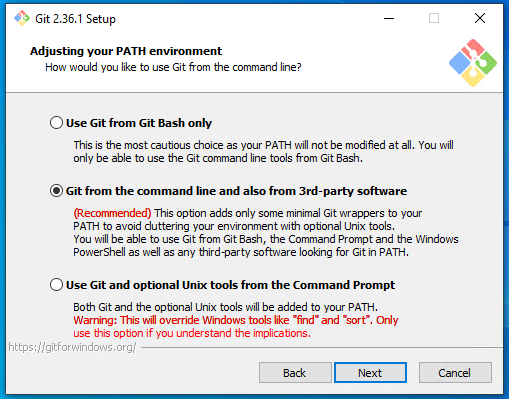
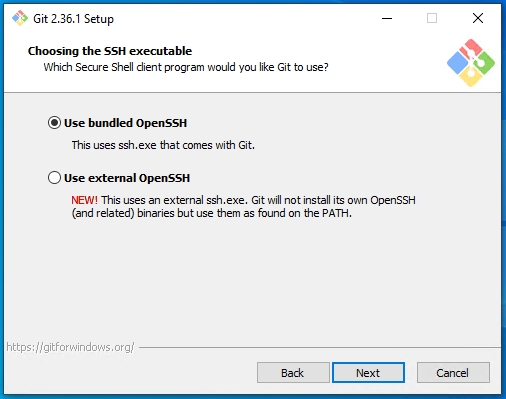
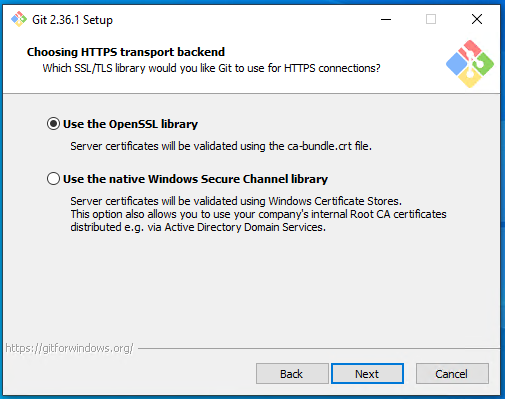
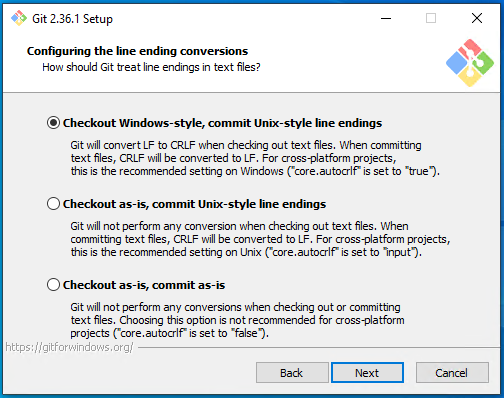
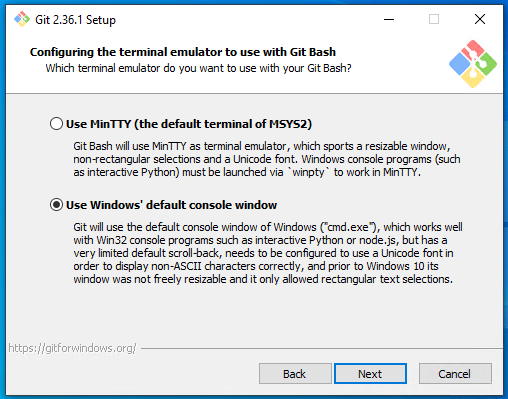
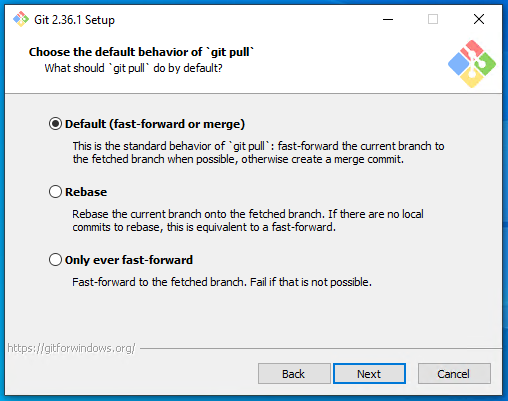
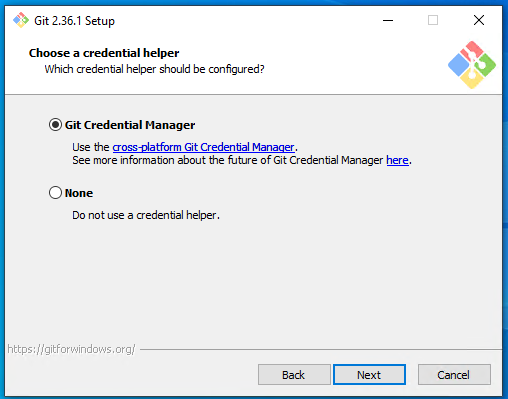
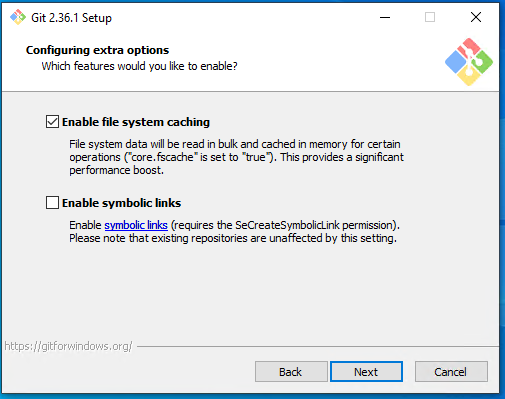
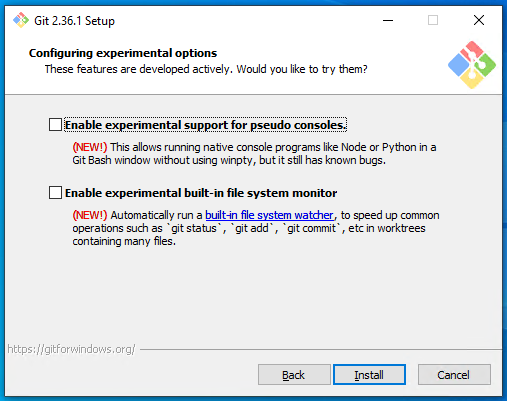
Copy the settings as they are below and click next, next...
Then git should begin installing:
Open up a command prompt and type
git --versionto make sure it has installed correctly. If it has, you should see a version number as below:
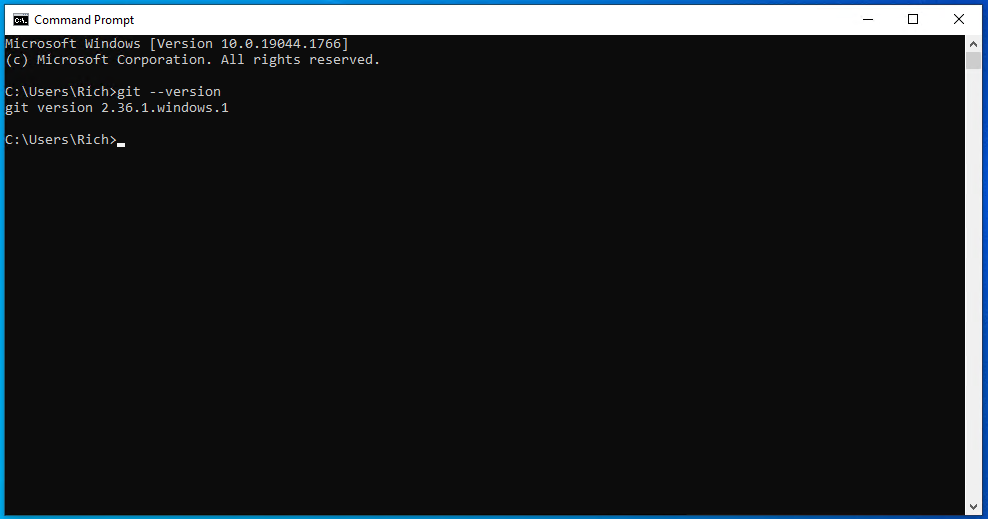
That is it, Git is now installed.
Deploying Actual
I got Actual deployed to fly.io below are the instructions I used - understandably these are for Windows only but should work (with a few tweaks) for MacOSX & Linux.
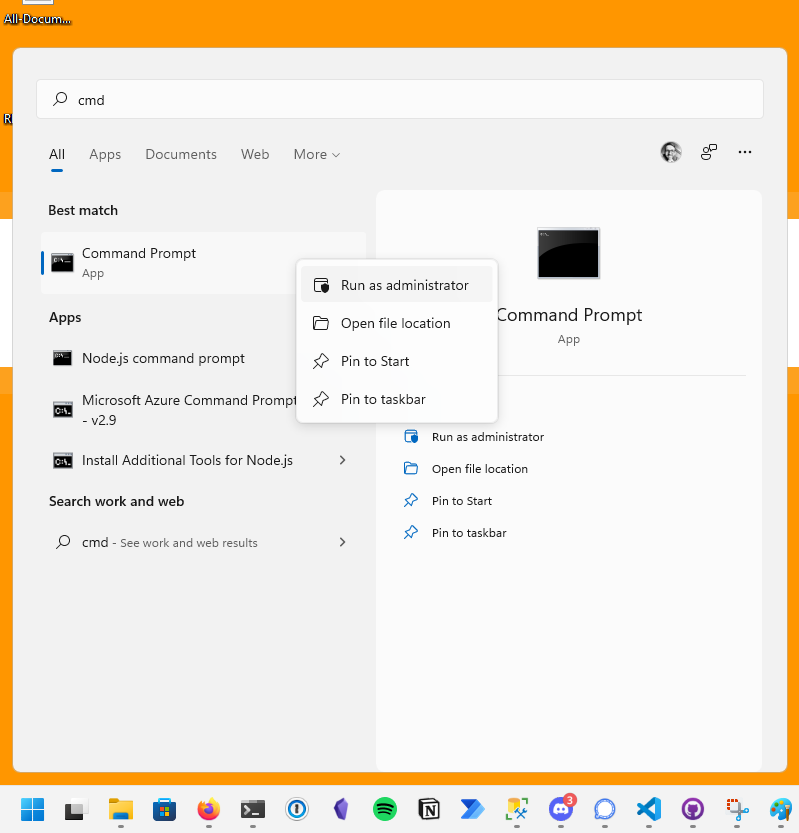
Press start (or hit the windows key on your keyboard), type cmd
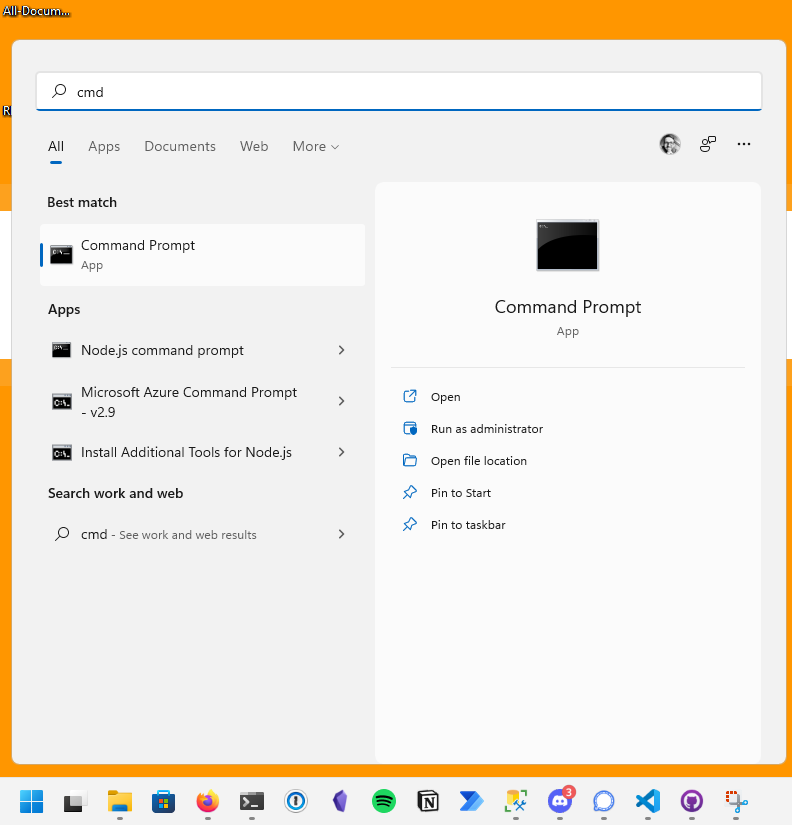
when CMD appears in the search results, right click it and run it as Administrator
Navigate to the C:\ drive
cd C:\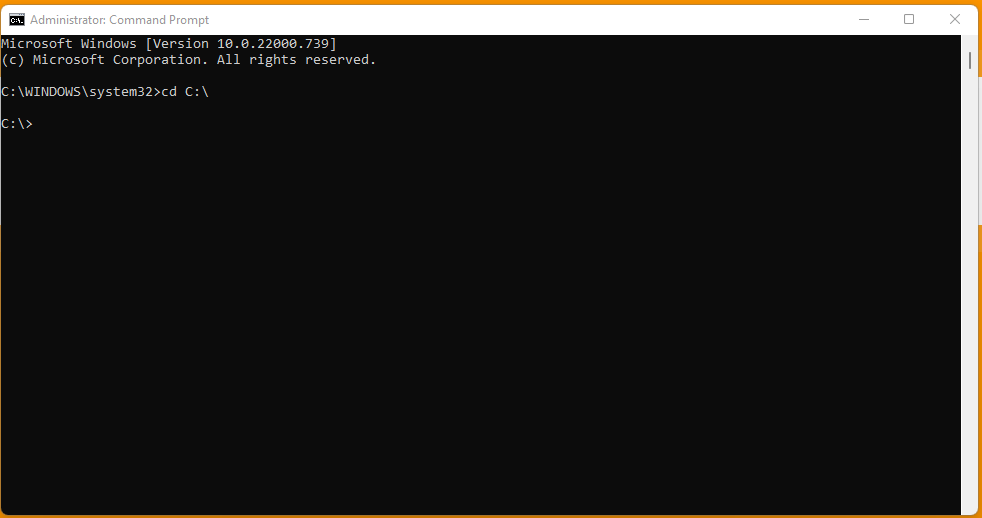
Create a folder called GitHub. (
mkdiris a command to make a directory)mkdir github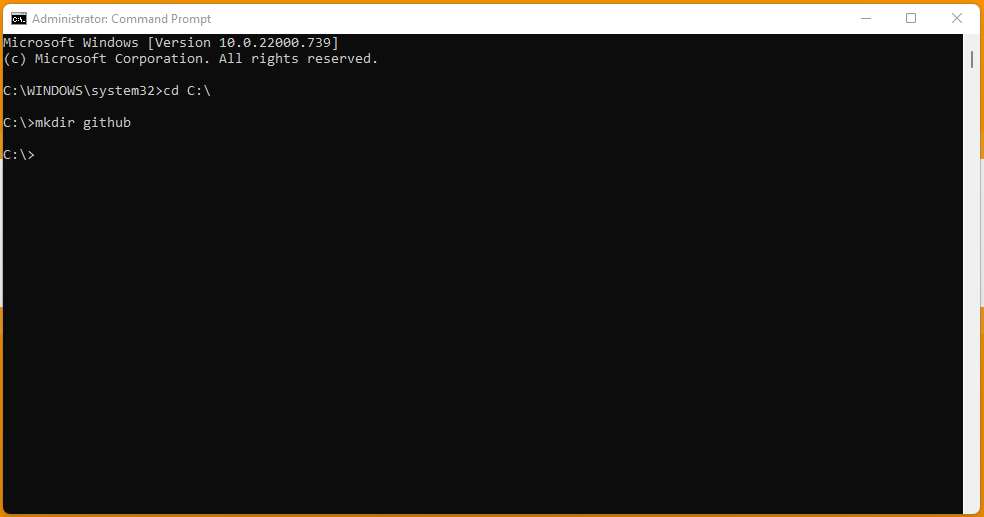
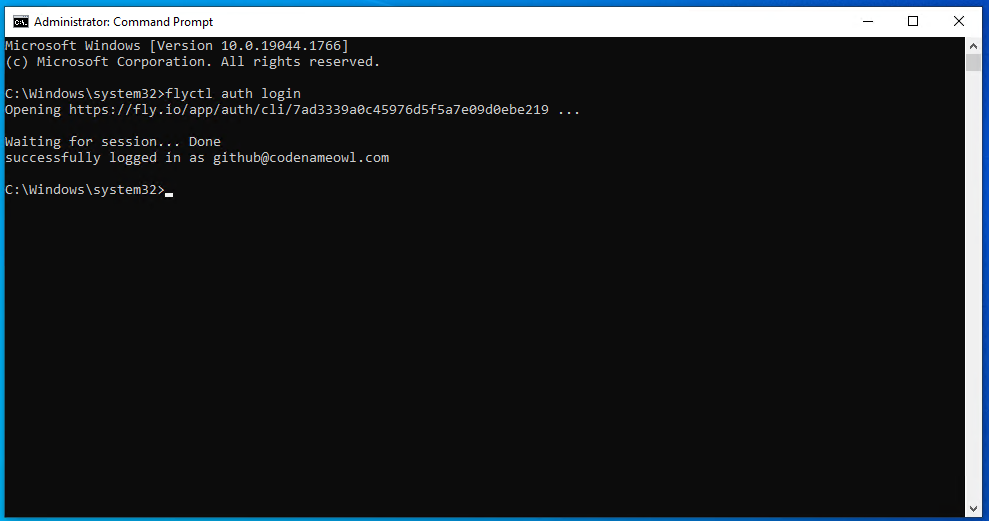
Once that is complete run this command
flyctl auth login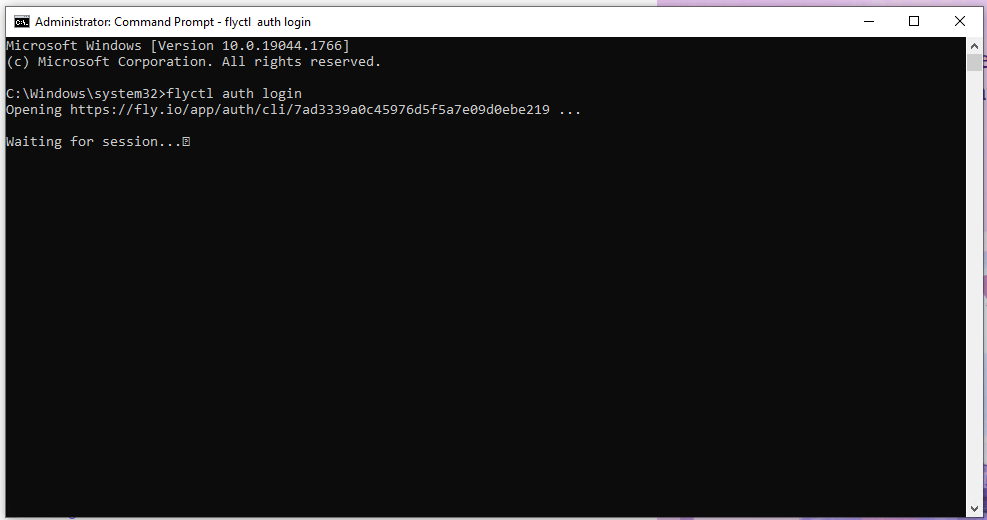
This should open a web browser and ask you to login - you will need to provide credit card details to proceed but actual shouldn't cost much if anything at all.
Now we need to move into the GitHub directory we just created on the C:\ drive, to do that we can use this command
cd C:\github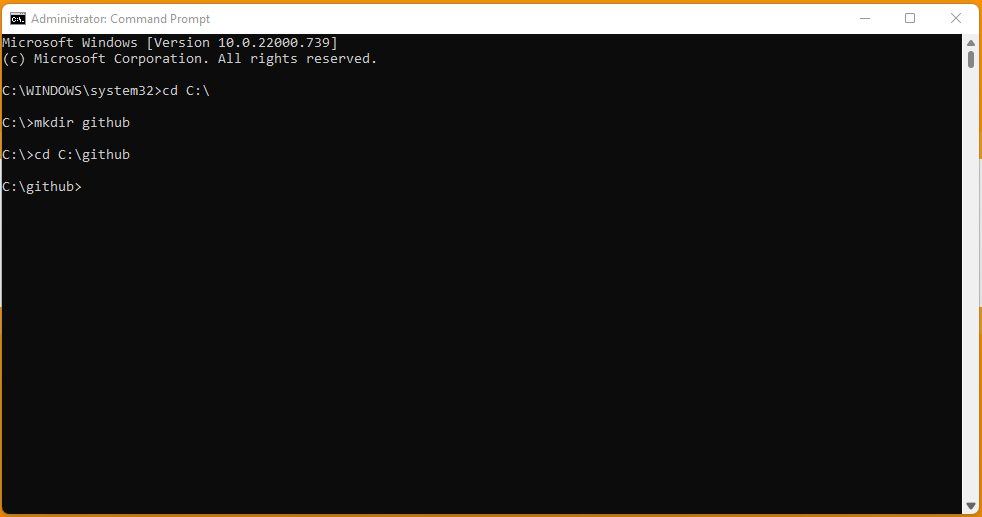
Note: CD means change directory
Now run this command
git clone https://github.com/actualbudget/actual-server.git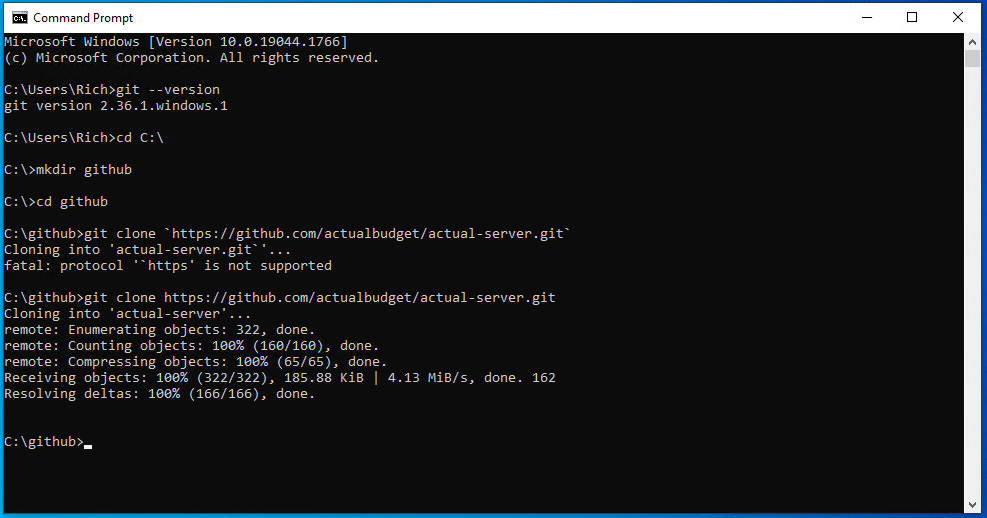
This will pull down the latest files for actual-server from the git hub repository to our local machine.
Then we need to move into that folder, to do that use this command
cd actual-server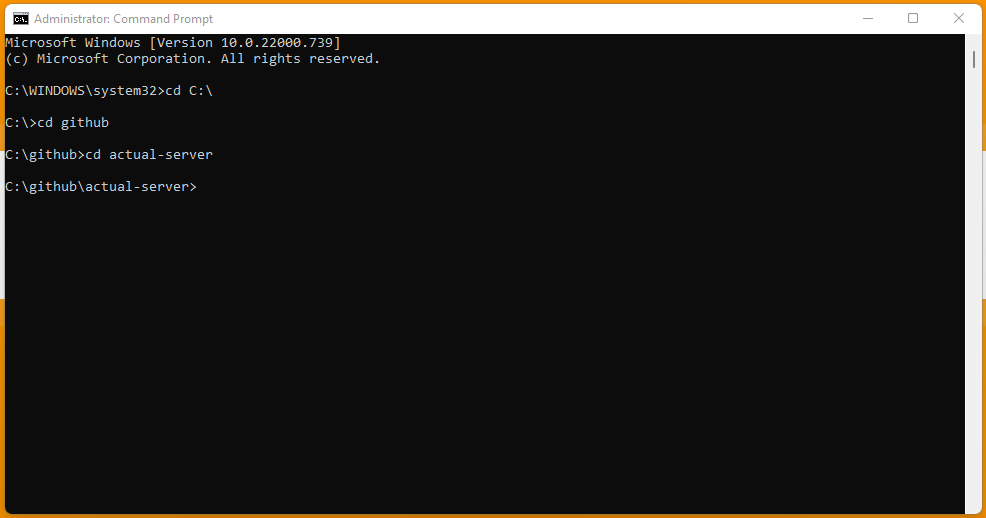
Let's check to make sure we are in the correct place
dir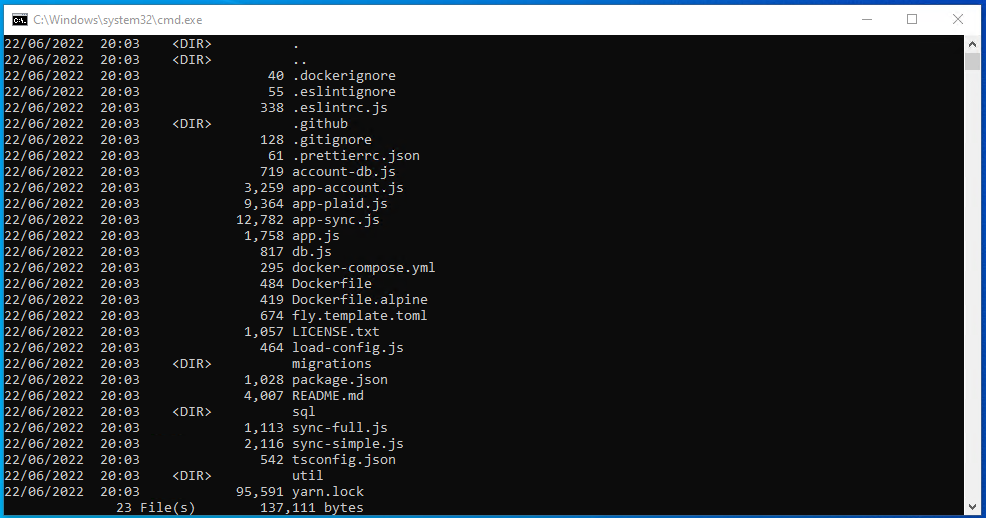
You should see a list of files, one of them being
fly.template.toml. If you don't see them go back to step 6Copy
fly.template.tomlthat is in the folder called actual-server within C:\GitHub and copy it back into the same directory with the namefly.tomlcopy fly.template.toml fly.toml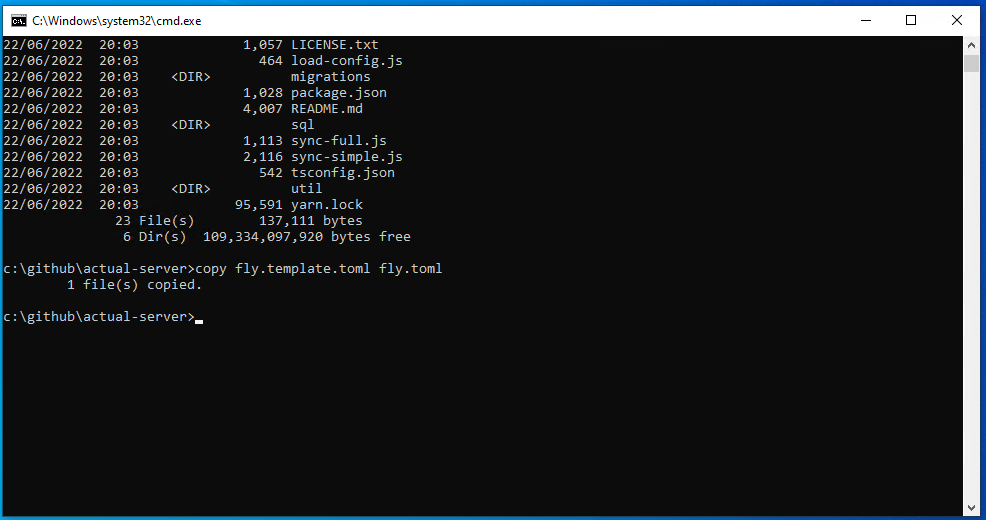
Open the fly.toml file in notepad or a text editor of your choice like Visual Studio Code
notepad fly.toml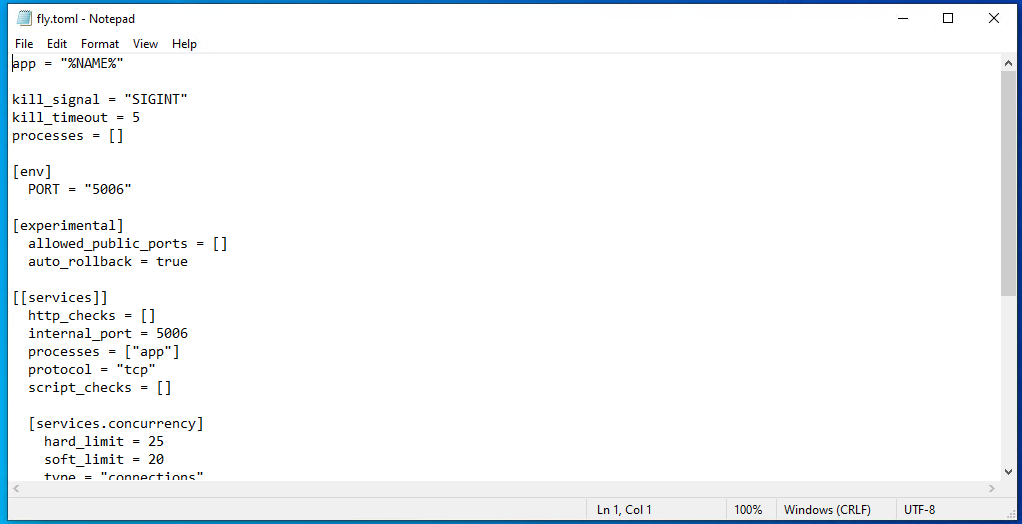
On line 1 change
app = "%NAME%"to something of your choosing likeapp = "Actual"and save the file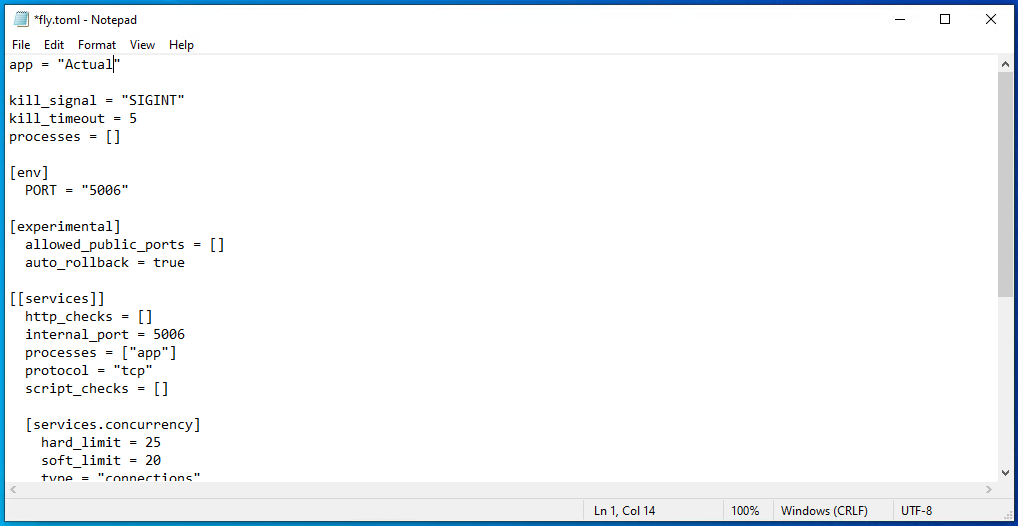
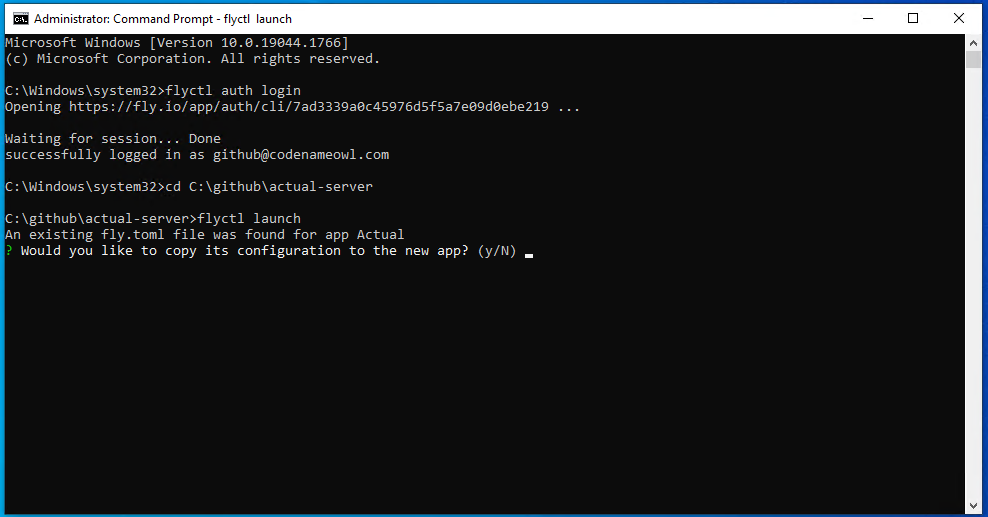
Go back to the command prompt and run
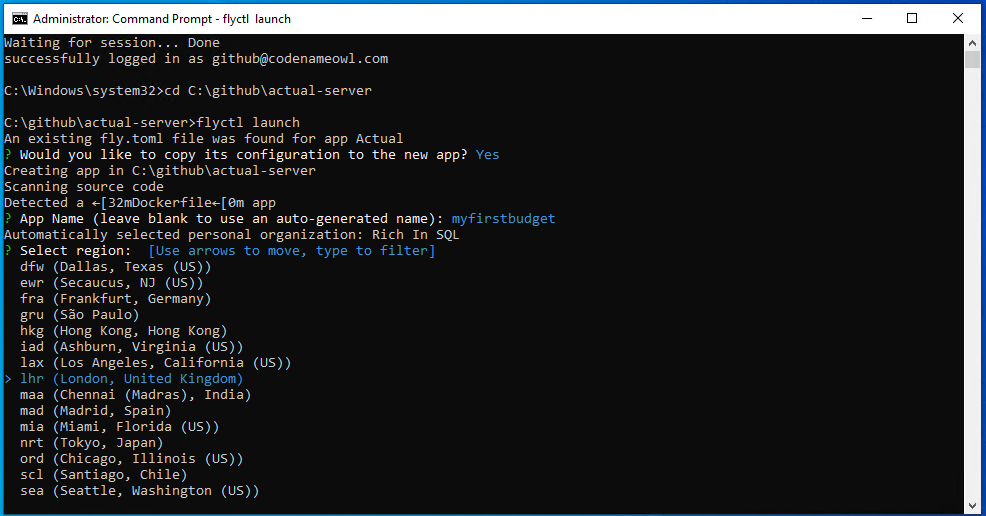
flyctl launchYou will see a message that says
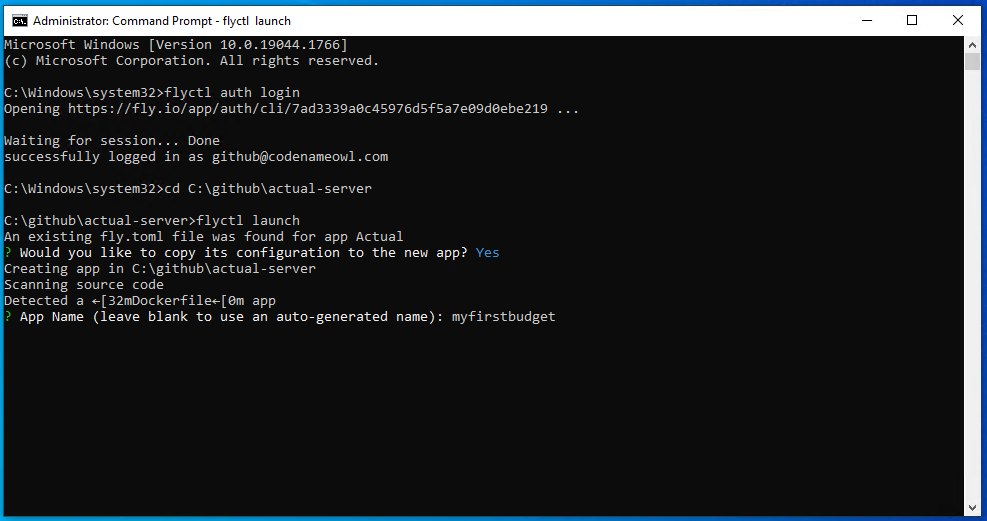
An existing fly.toml file was found for app Actual Budget ?
Would you like to copy its configuration to the new app? (y/N)
Type Y and hit enter
It asked me to give my application a name, I just left it blank and it picked one for me. I did this because no matter what I typed it errored.
Select your location using the up/down arrow keys when prompted:
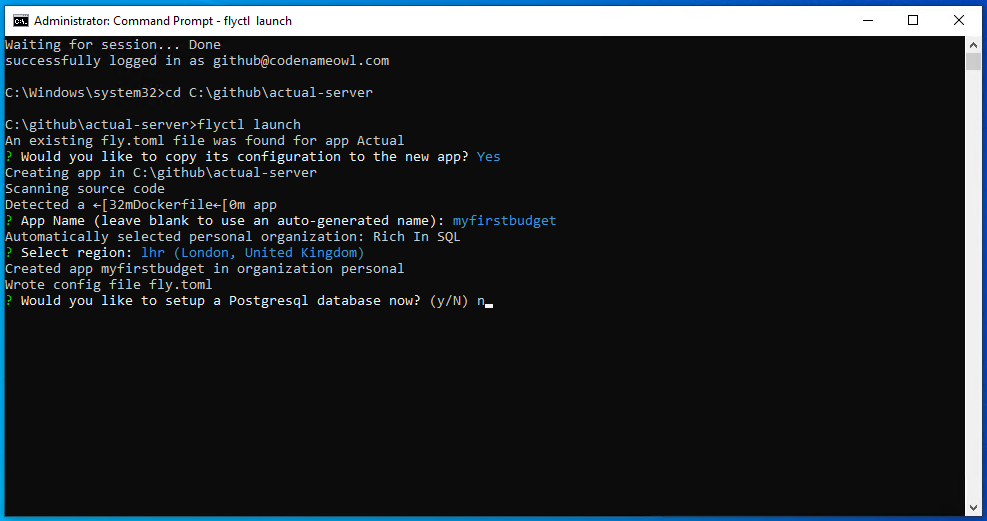
When prompted with
? Would you like to setup a Postgresql database now? (y/N)Type N and press enter:
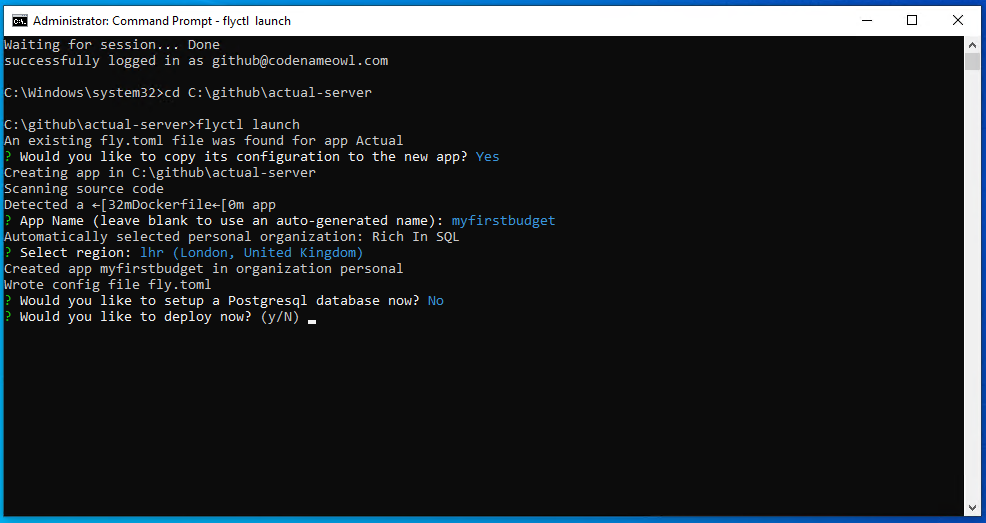
When prompted with
? Would you like to deploy now? (y/N)Type Y and press enter:
The application should begin deploying.
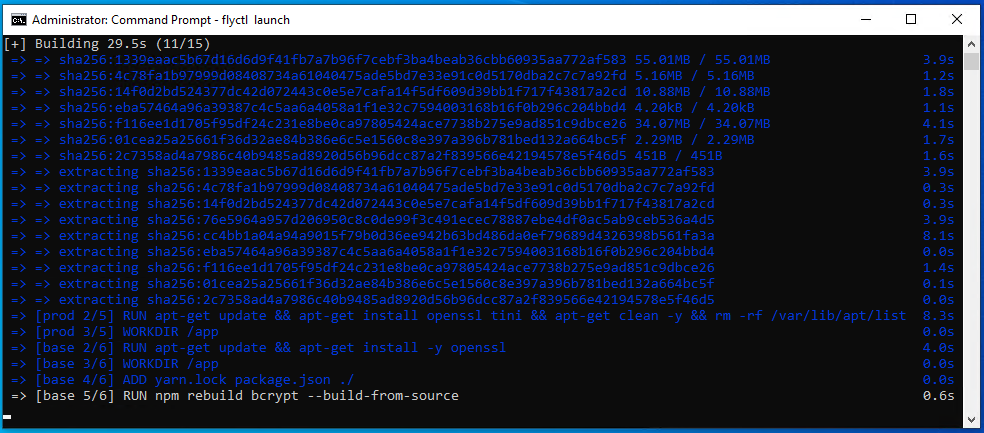
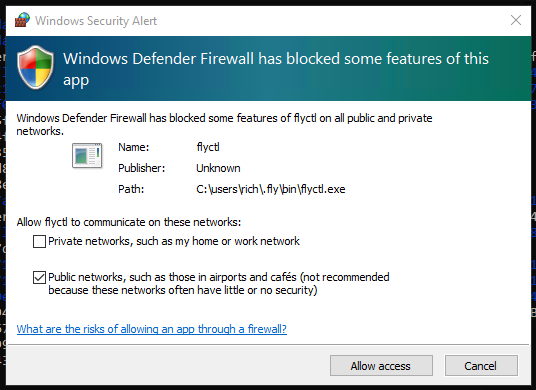
If you get a message about Windows Firewall, click 'Allow Access'
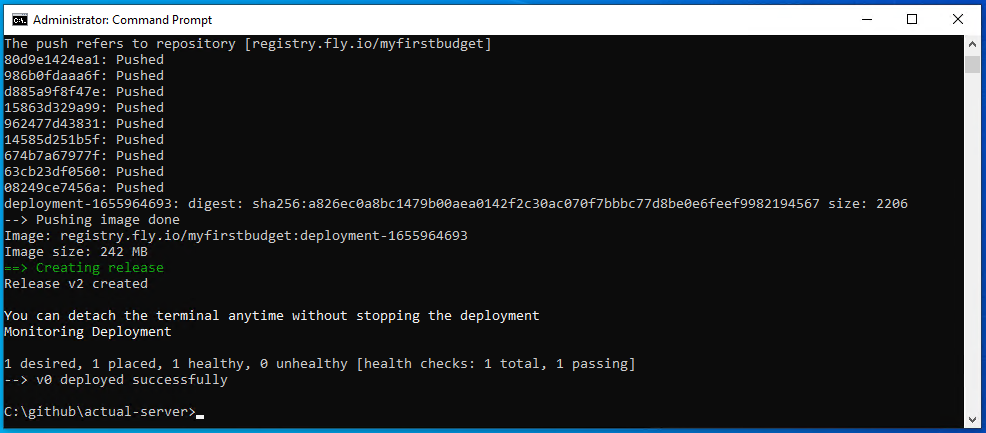
When complete you should see something like this:
Configuring Actual
Now everything is setup and configured, you should now be able to navigate to Actual using the URL provided by Fly in the dashboard.
To find that open https://fly.io/dashboard in a browser and click the application you created, in my case myfirstbudget, it might have a really random name if you left it blank a few steps ago

Once you are in there, you should see Hostname section under Application Information - click the link
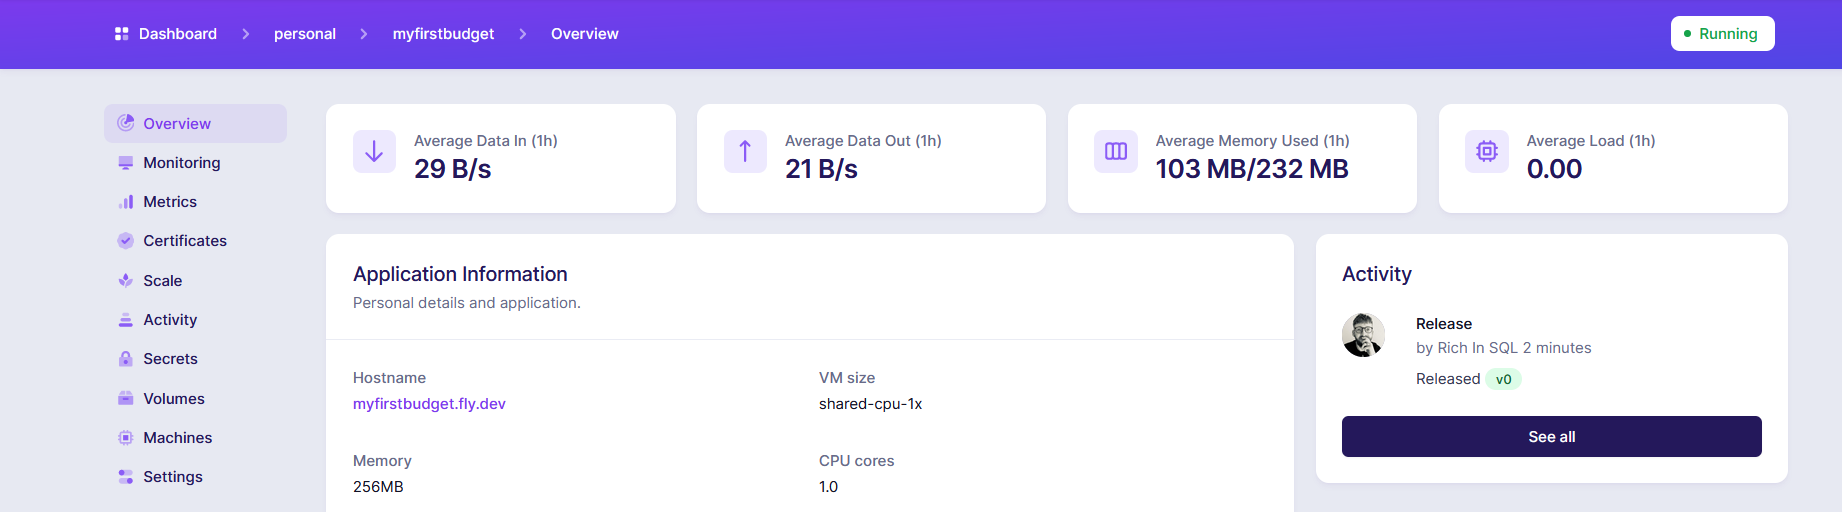
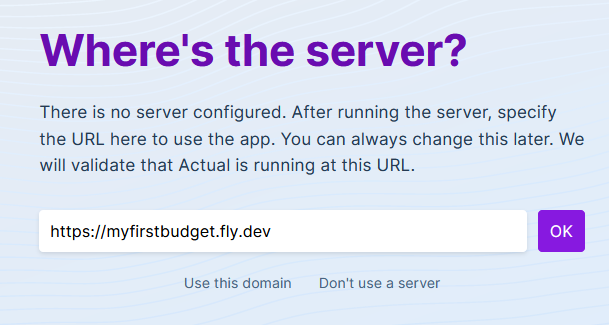
https://myfirstbudget.fly.devThis will now open Actual so we can start configuring it.
You should then see this screen
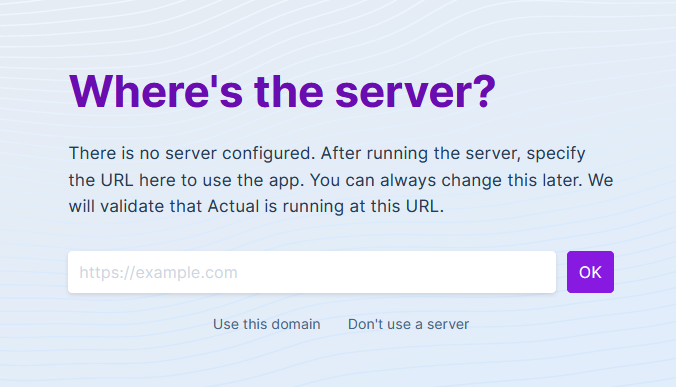
Click the 'Use this domain' link
Set a password - remember this, you will need it in the future.
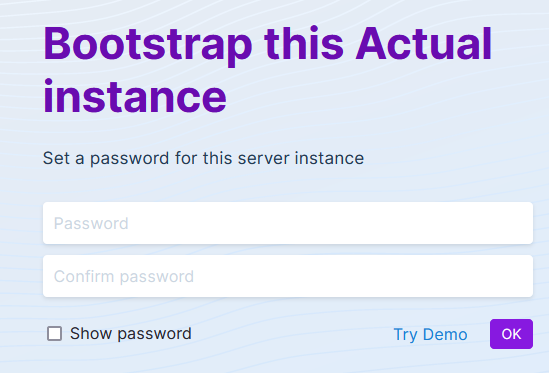
If everything went well you should then be taken to your very first budget.

Actual is now up and running. Congratulations!